CAD BLOG #2
- aqilahqcheng0320
- Nov 5, 2021
- 2 min read
DESIGNING A PHONE STAND ☺️
In this week's lesson, I've designed something new on Fusion 360!
STEP 1: Add in the desired measurements under Parameters.
(I used t = 19mm for the slot where the phone would be slotted in)

STEP 2: A rough sketch of my phone stand
( It took me 3 tries to perfect it 😐)

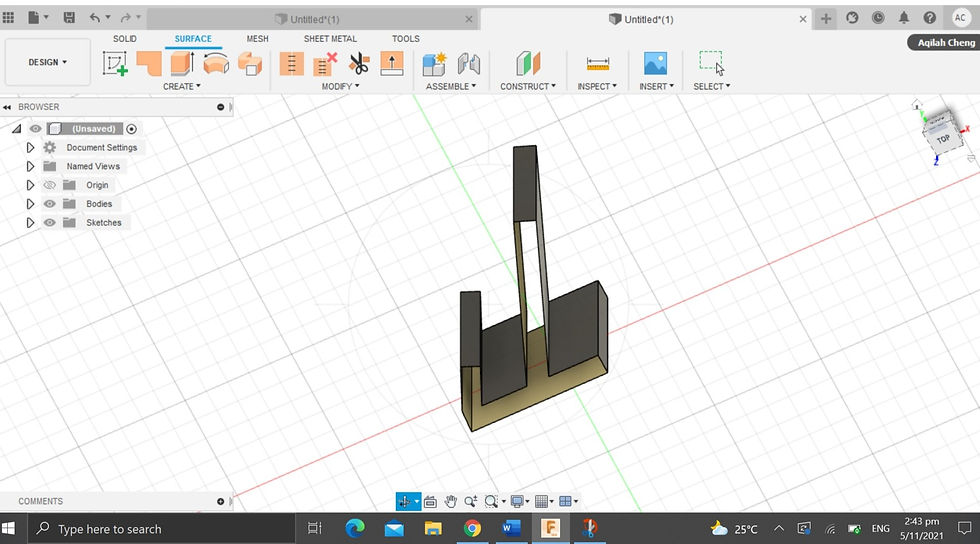
STEP 3: Extrude the sketch to give it a 3D effect

STEP 4: Fillet the sides
(any sides you wish to fillet)

STEP 5: Addition of a text (name etc.)

STEP 6: Addition of preferred photos on the phone stand
(saved in JPEG format)
THE FINAL PRODUCT!!

REFLECTION
In this weeks task, we were supposed to create and design our very own phone stand using Fusion 360. Not only must we design a phone stand, we were also instructed to use a function that was taught in class to complete this assignment which was to inculcate parametric design into our finalised phone stand.
Learning the parameters function is beneficial to us when using Fusion 360 to sketch out our finalised and mock up designs. Using the parameters function is interesting as it allows me to alter the dimensions of sketches, which I have added before starting the sketches, without the need of redoing the entire sketch. This allows me to save time as well as energy which could be put to other uses when I am assigned to a larger project or assignment such as in CP5070 where we would have to reconsider measurements before finalising our sketch.

Before the parameters function was introduced to us, my group and I would dread doing alterations of measurements in our sketch using Fusion 360 as we would have to manually input the measurements for each length in our sketch. Now that parametric design has been introduced, we can make alterations on our sketch without much hassle.


Comments